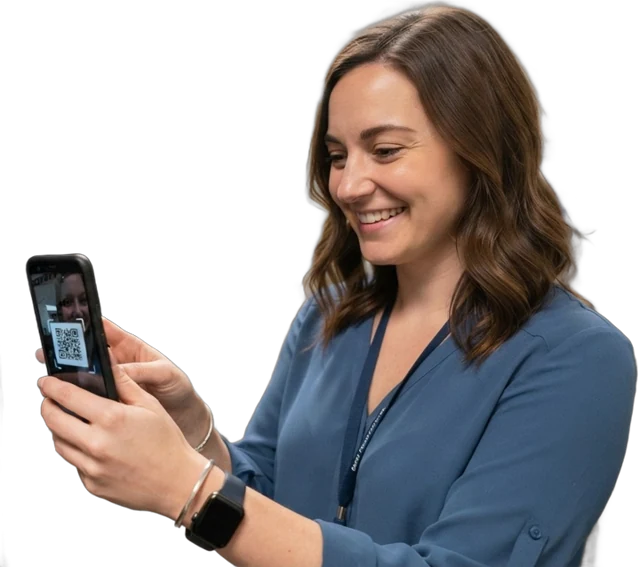
Asset verification (also called physical verification or fixed asset verification) is the check at the heart of every audit: this asset, on this record, is really here. It can be done for the whole register in a stock-take, for a sample, or individually — for example, when a custodian confirms they still hold an assigned laptop.
Why it matters
Many regulators and auditors expect periodic physical verification of fixed assets, and it is the only way to find ghost assets before they distort the books. It also catches the opposite problem: unregistered assets that are in use but missing from the register.
Fixed asset verification process (step by step)
The short version is below. For the full method, with the verification report and certificate formats, see the fixed asset verification guide.
- Set the scope and date. Decide which sites, departments or asset classes are being verified, and freeze the register (or note its date) so you count against a fixed list.
- Assign teams and areas. Give each team a building, floor or store, and pair someone who knows the area with someone independent of it.
- Prepare the list and tools. Export the expected assets per area from the asset register, with tag number, description, serial number, location and custodian. Charge the phones or scanners and bring spare tags.
- Count and identify. Walk each area and scan or tick every asset you find. Record the condition, and photograph damaged items.
- Tag what is untagged. Any asset without a readable tag gets a new tag on the spot and is noted as an exception, so it can be matched or added to the register.
- Reconcile. Compare what was found with what was expected: found in place, found in the wrong location, missing, and unregistered. These are the variances.
- Investigate the variances. Ask custodians about missing items, check check-out and transfer records, and search other sites before anything is written off.
- Update the register. Correct locations and custodians, add genuine unregistered assets, and send unresolved missing items for an approved write-off.
- Report and sign off. Produce the physical verification report (format below), have the asset owner or finance sign it, and keep it with the evidence for the auditors.
Physical verification report format
A physical verification report lists every asset in scope with what the register expected and what the count found. A simple, auditor-friendly format uses these columns:
| Column | What to record |
|---|---|
| Asset tag / ID | The unique asset number, ideally scanned from the tag |
| Description | Asset name, make and model |
| Serial number | Manufacturer serial, where there is one |
| Asset class | Category, such as IT equipment, furniture or vehicles |
| Location per register | Site, building and room the register expects |
| Location found | Where the asset was actually found |
| Custodian | The person or department responsible for it |
| Condition | Good, fair, poor or unserviceable |
| Status | Verified, wrong location, missing or unregistered |
| Cost / net book value | Optional, from the fixed asset register, so finance can value the variances |
| Verified by and date | Who checked it and when |
| Remarks / action | Investigation notes, the agreed action and who owns it |
How often should fixed assets be verified?
At least once a year is the common baseline, usually close to the financial year end so the count supports the accounts. High-value, portable or theft-prone assets — laptops, phones, tools, medical equipment — are often verified quarterly or through rolling cycle counts, while low-risk furniture may only need the annual count. Your auditors, regulators or funders may set their own minimum, so check their requirements.
Fixed asset verification and tagging
Verification is only as good as the link between the object and its record. Tagging every asset with a durable asset tag — a QR code or barcode, NFC, or UHF RFID label — turns verification into a scan: the scan proves the asset was seen, by whom, where and when. Many organizations tag their assets during the first full verification, then use the tags for every count after that. See the physical asset audit checklist for what to prepare.
Types of asset verification
| Type | What is checked | When it fits |
|---|---|---|
| Full physical verification | Every asset in the register, all sites | Year-end, first count after tagging, change of ownership |
| Sample verification | A random or risk-based sample of assets | Between full counts; auditor testing |
| Cycle count | One area or asset class at a time, on a rolling schedule | Large registers where a full count is disruptive |
| Custodian self-verification | Each holder confirms the assets assigned to them | Remote staff, laptops and phones |
| Floor-to-register and register-to-floor | Start from the asset and find its record, or start from the record and find the asset | Use both: the first finds unregistered assets, the second finds missing ones |
Common asset verification mistakes
- Ticking a printed list instead of scanning. A tick does not prove the asset was seen; a tag scan with a time and user does.
- Only counting register-to-floor. You will find missing assets but miss the unregistered ones.
- Writing off too fast. Check check-out and transfer records, and other sites, before declaring an asset missing.
- No sign-off. Without a signed report, the count carries little weight with auditors.
To record results in an auditor-friendly layout, download the free fixed asset verification report template.
Evidence of verification
- A scan of the asset's tag (stronger than a tick on a list)
- Date, time and who verified
- Location at verification
- Condition notes or a photo
In Asetavo
Verification happens through audit scans, each recorded with who, when and where in the asset's history. On Growth and above, teams run scoped stock-takes from a phone, scanning QR codes and barcodes with the phone camera in the web app at app.asetavo.com (native iOS and Android apps are coming soon); Asetavo then lists what was found, missing and unregistered so each variance can be resolved, and the results export to Excel or CSV for your verification report. For the full method, read the fixed asset verification guide or the physical asset audit guide.